 +420 571 612 420
 gds@gds.cz

 EN
EN
 CZ
CZ
 hu
hu
 bg
bg

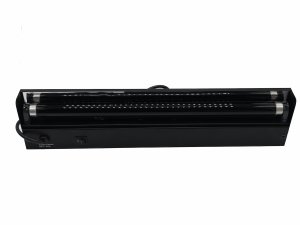
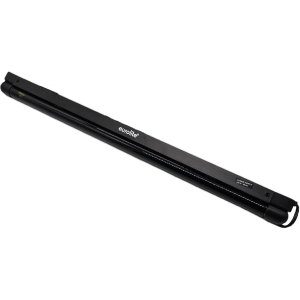
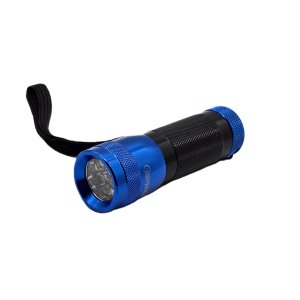
In practice, UV light from special lamps is used for targeted curing of UV adhesives. This technology is key, for example, in bonding glass and other transparent materials.
The time required for curing depends on several factors:
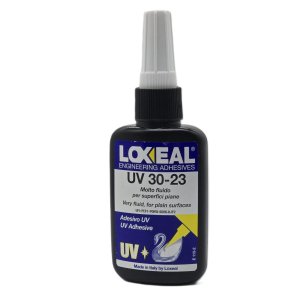
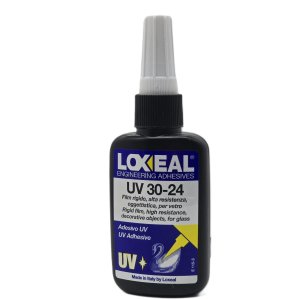
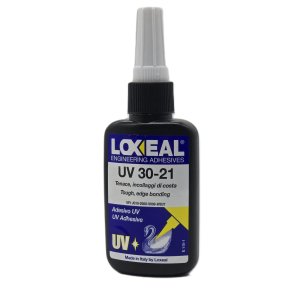
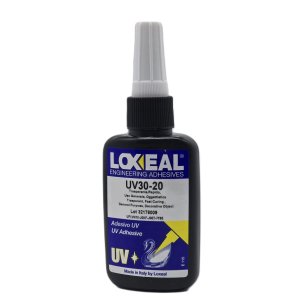
- the type of UV adhesive (see our range of Loxeal adhesives),
- the layer of adhesive applied
- the power of the UV lamp, its appropriate range and the degree of wear,
- the thickness of the material,
- the UV transmittance of the materials to be bonded,
- the distance of the UV lamp from the adhesive
The pre-cure time normally ranges from 10 seconds to 2 minutes, the final cure time from 60 seconds to 5 minutes. Under unfavourable conditions it may be even longer.
We always recommend a test to determine the exact irradiation time for a particular application. Longer irradiation times do not adversely affect the quality of the joint, but will not produce any additional positive effect either.
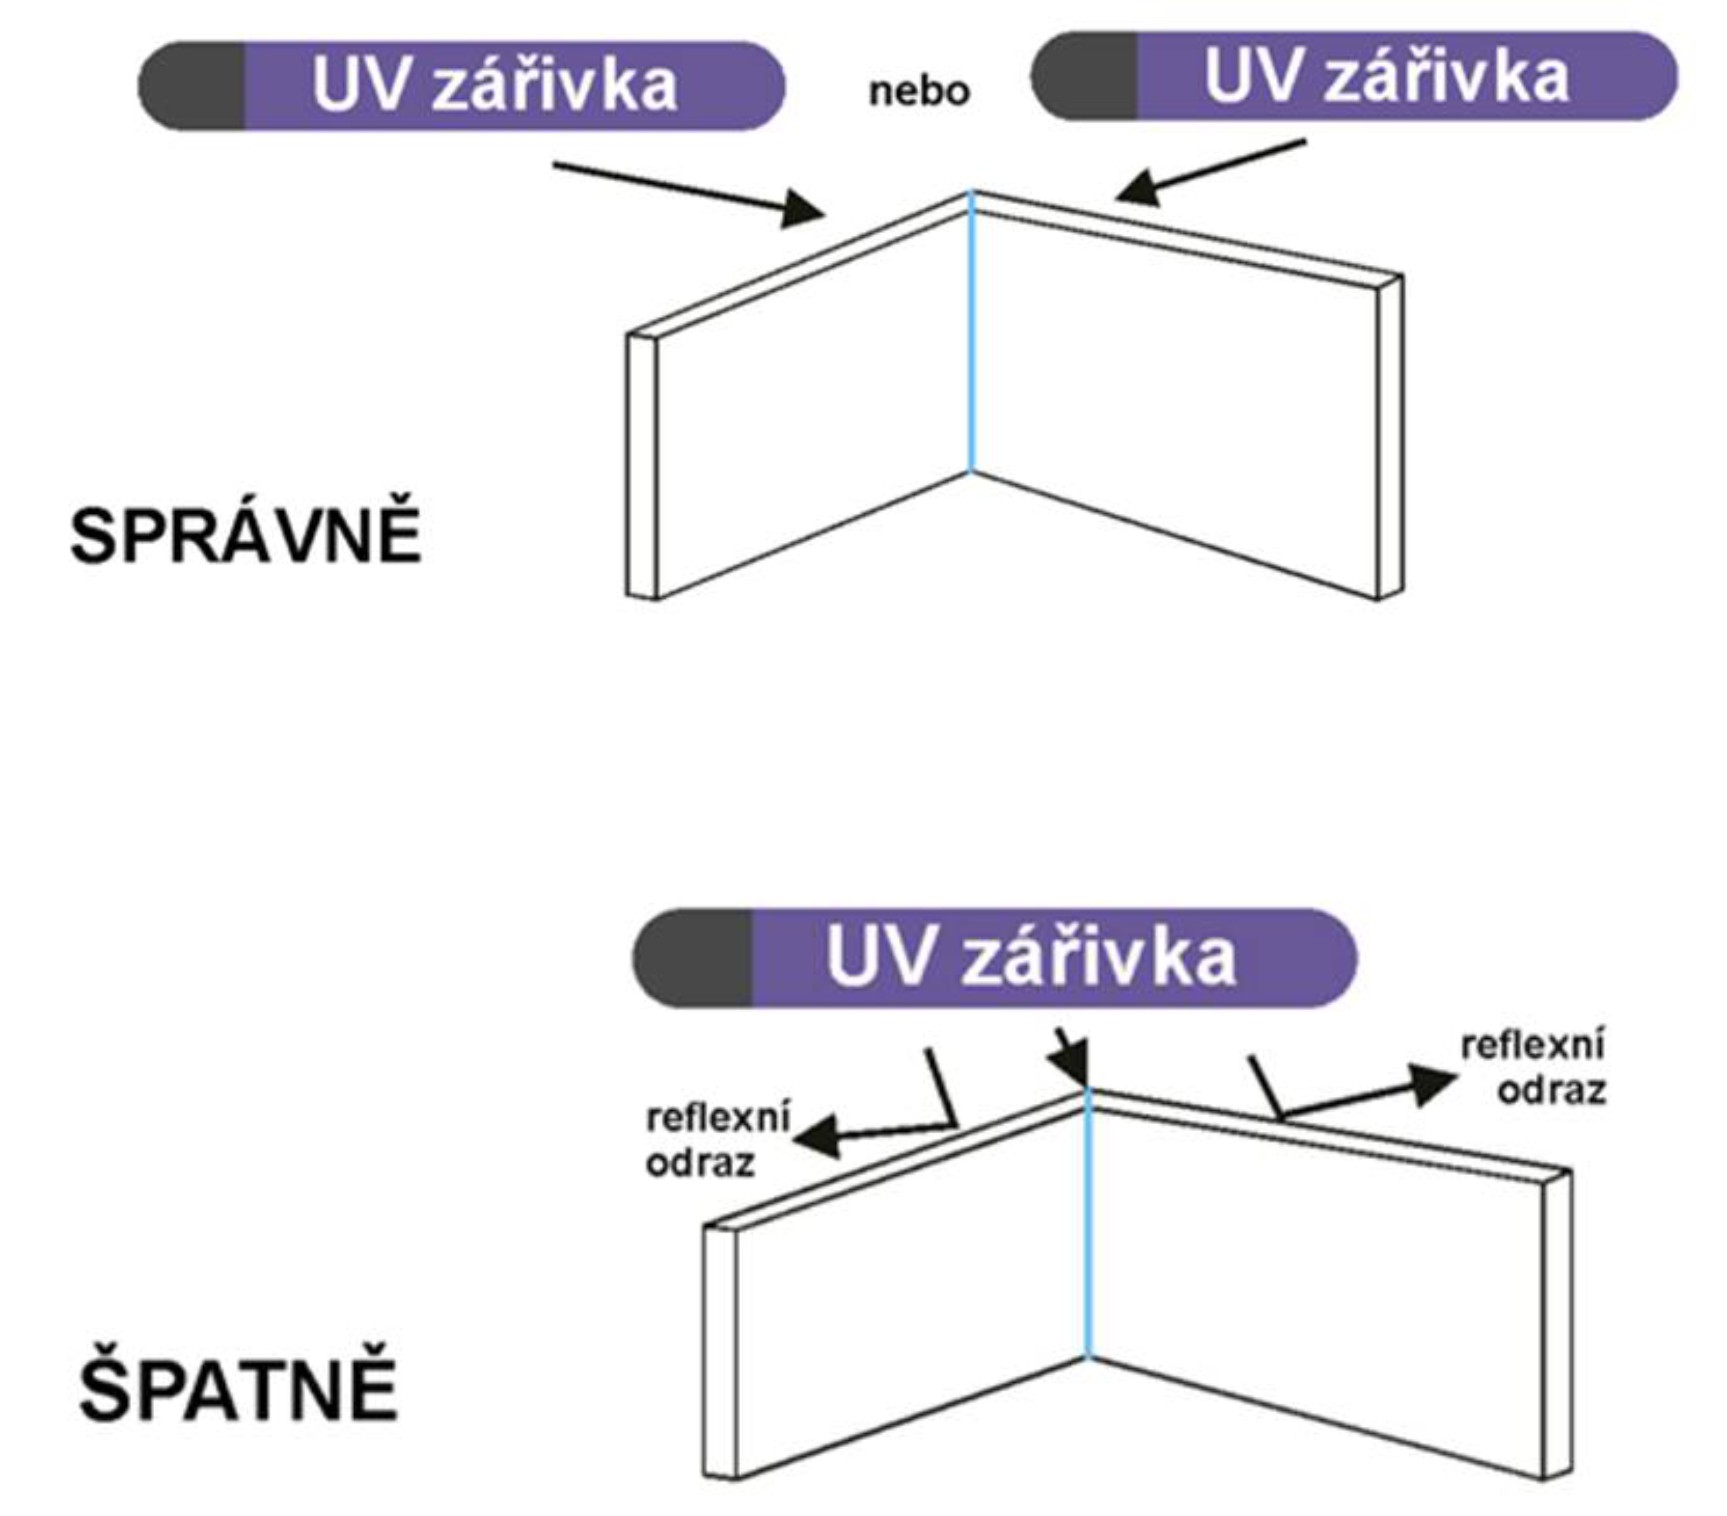
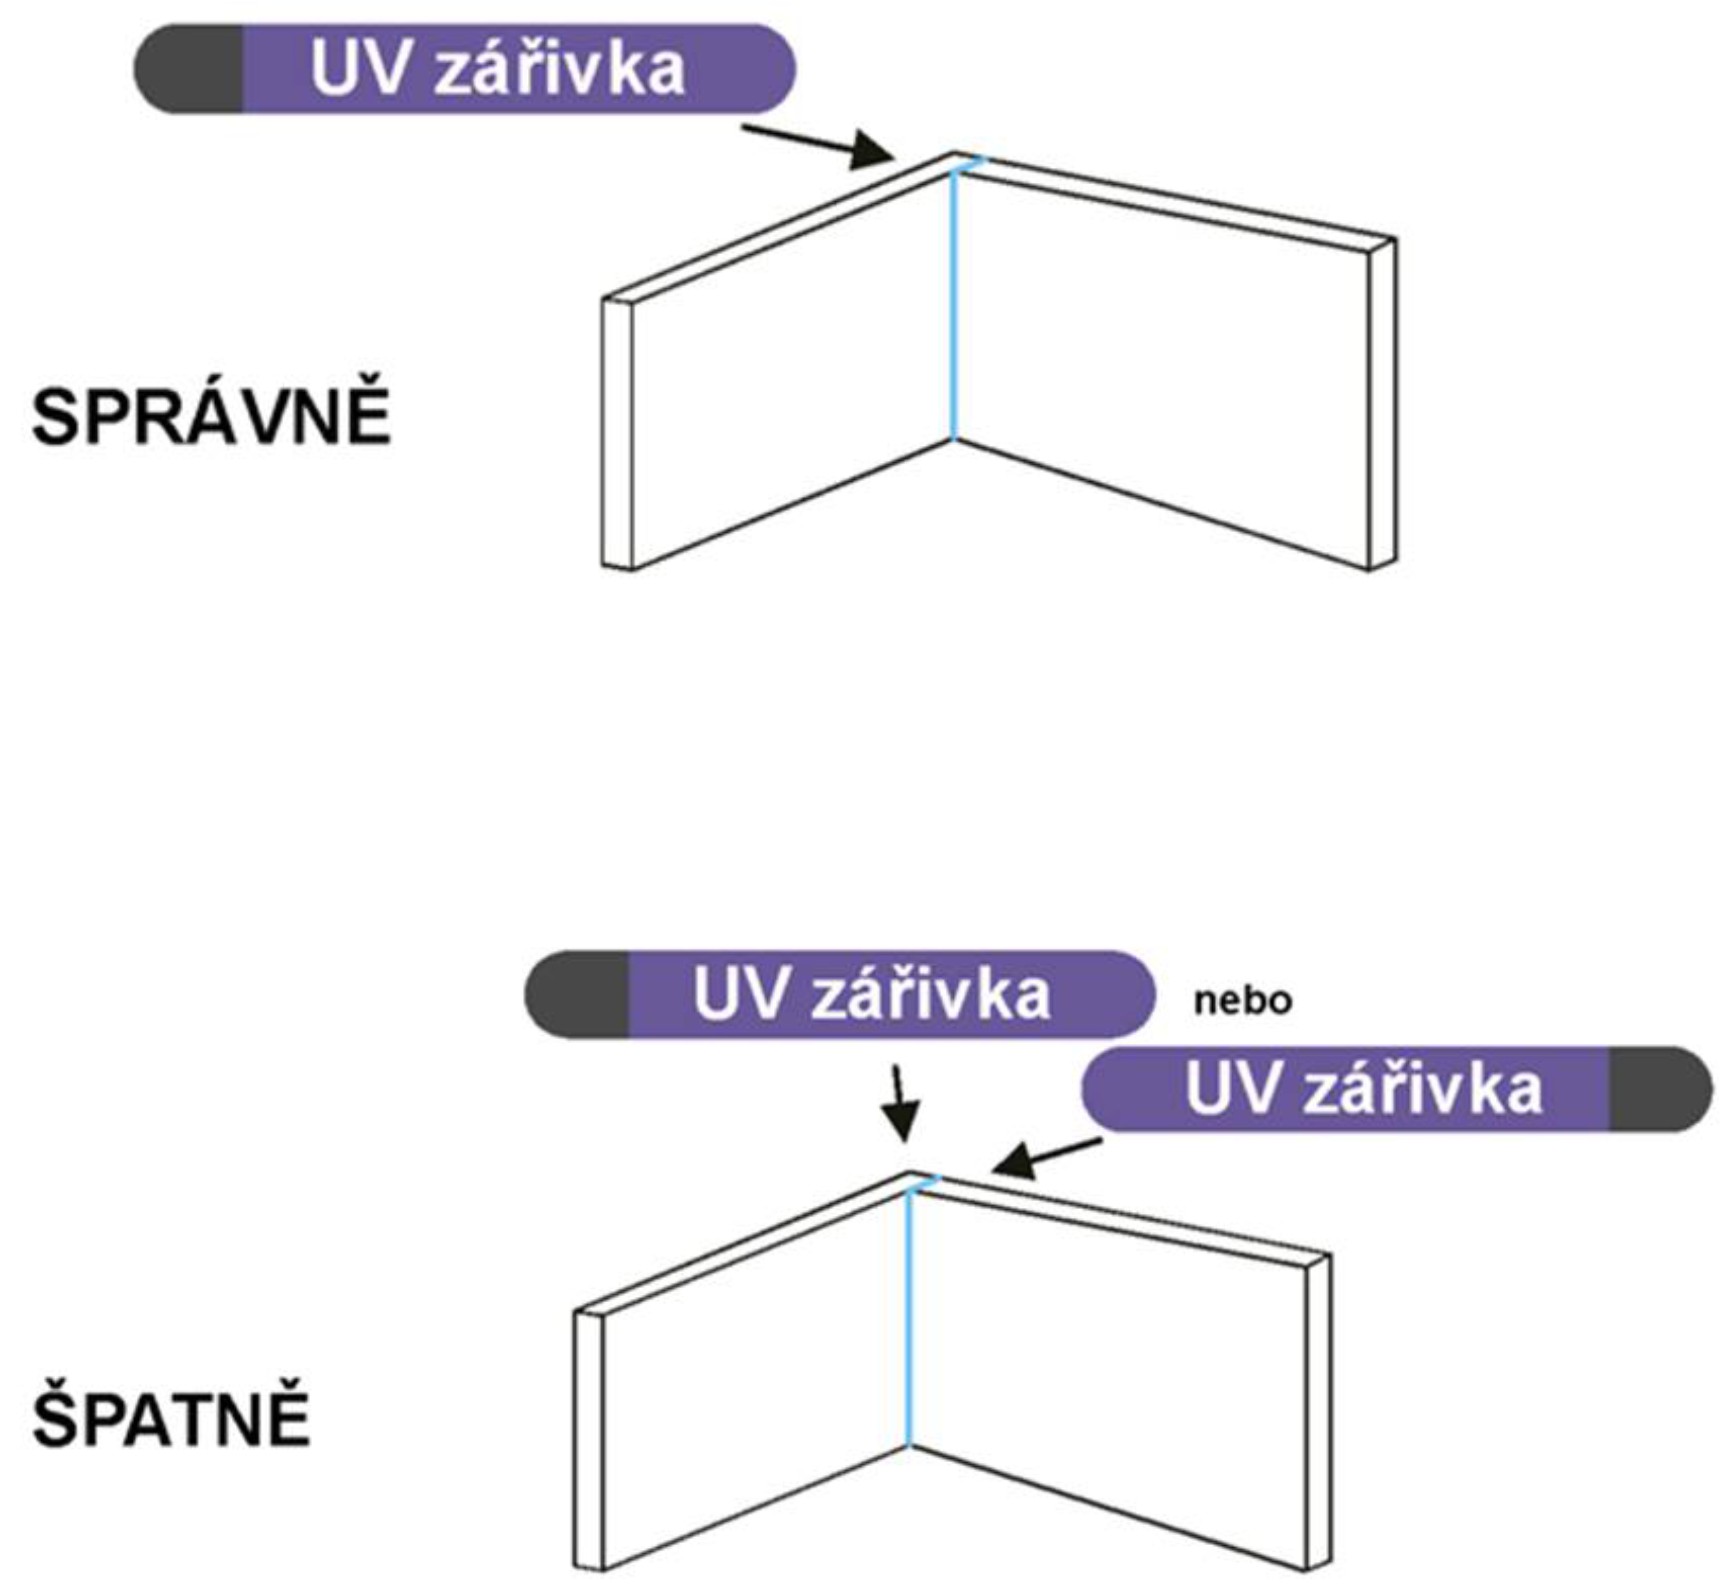
Because UV adhesives absorb UV radiation, curing is only possible to a small depth. For this reason, it is necessary to irradiate not the joint itself, but the entire bonded area as permanently as possible.
Place the UV lamp as close as possible to the glued area, as the lamp power decreases significantly with increasing distance.
The UV adhesive curing process takes place in 2 stages:
- Handling strength - within a few tens of seconds the so-called working strength is reached (approx. 70% of the final strength). The UV adhesive cures faster in the joint than in the air, therefore it is possible to clean (without using a cleaning agent) the pre-cure joint from the adhesive that has been extruded and is still liquid.
- Final curing - after a few minutes, almost 100% strength of the bonded joint is achieved. Adhesive residue can be removed with a scraper or steel wool. It is recommended to leave the glued object for about 3 hours to allow the glue to fully react and reach maximum strength. A cleaning agent can be used to finish cleaning.


 Settings